Using transformer model with DataBricks Delta Live Tables (DLT) and FeatureByte
Introduction
Deploying model as http inference endpoint is a nice way to expose the model to any environments, but it has it's challenges.
One of the biggest challenges is how to score extremely large number of data points in relatively short period of time.
DataBricks provides a nice solution to this issue - Delta Live Tables.
In this tutorial we will look into how we can use DataBricks Delta Live Tables (DLT) in order to compute embeddings for large number of data points and not worry about http latency and throughtput.
Getting started
Before we dive into creation of DLT, we need to register transformer model in MLFlow. More details on how to build and register a model in MLflow can be found in Deploying transformer model using MLFlow tutorial.
Note
We only need to register model in MLFlow for this tutorial, we don't need to enable Legacy Serving so feel free to skip it.
Steps
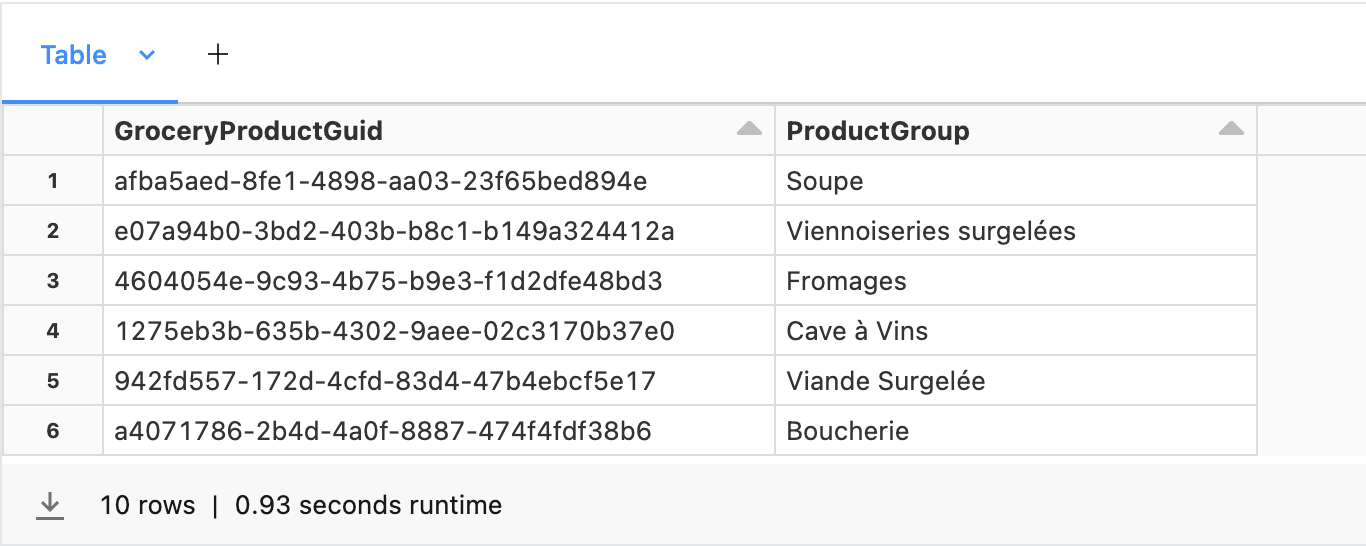
In the grocery use case we have a groceryproduct table, which has following schema:
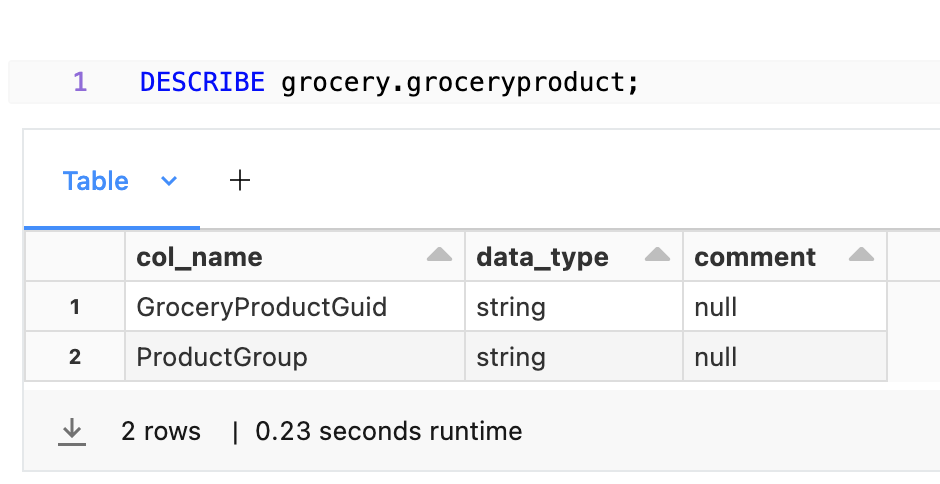
This table contains textual ProductGroup column, which represents which group of products an item belongs to.
We will create a new DLT pipeline for converting those two text features into the embeddings. DLT will do this in batch processing fashion, executing model directly instead of calling it over http.
Create DLT Notebook
First, create a notebook for DLT definition. It must follow some format rules, e.g. the dependencies must be installed in the first code snippet:
Define imports:
import dlt
import mlflow
from pyspark.sql.functions import *
from pyspark.sql.types import ArrayType, FloatType
Create Spark UDF using previosly registered MLFlow model. More information on how to register a model in MLFlow can be found in Deploying transformer model using MLFlow tutorial.
model_uri = "models:/transformer-model/production"
model_udf = mlflow.pyfunc.spark_udf(spark, model_uri=model_uri, result_type=ArrayType(FloatType()))
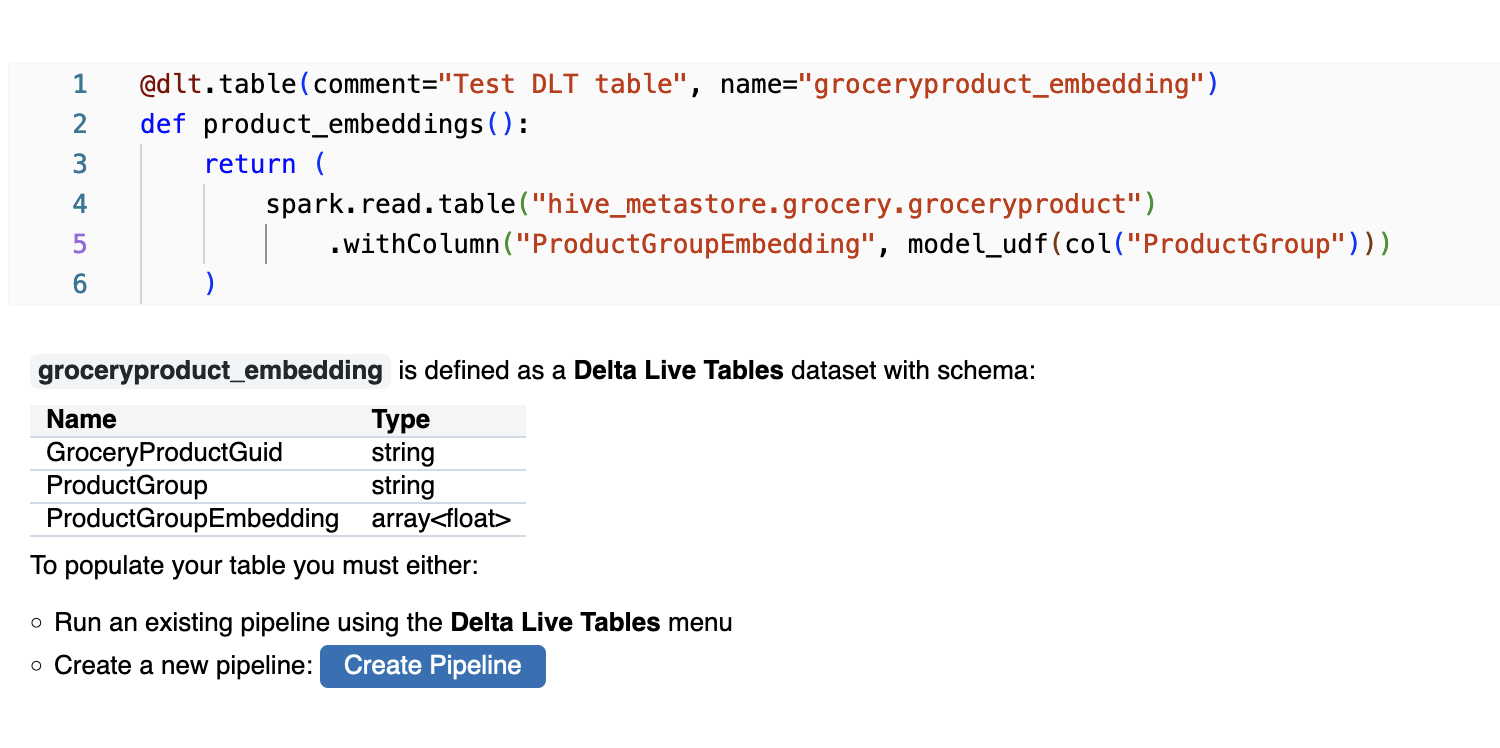
Define DLT itself:
@dlt.table(comment="Test DLT table", name="groceryproduct_embedding")
def product_embeddings():
    return (
        spark.read.table("hive_metastore.grocery.groceryproduct")
            .withColumn("ProductGroupEmbedding", model_udf(col("ProductGroup")))
    )
In this DLT we add one column - ProductGroupEmbedding created via Transformer model from MLFlow. The resulting data will be saved as groceryproduct_embedding table.
Once the DLT is created, DataBricks notebook will provide some descriptive information on it as well as a prompt to create DLT Pipeline. Click "Create Pipeline":
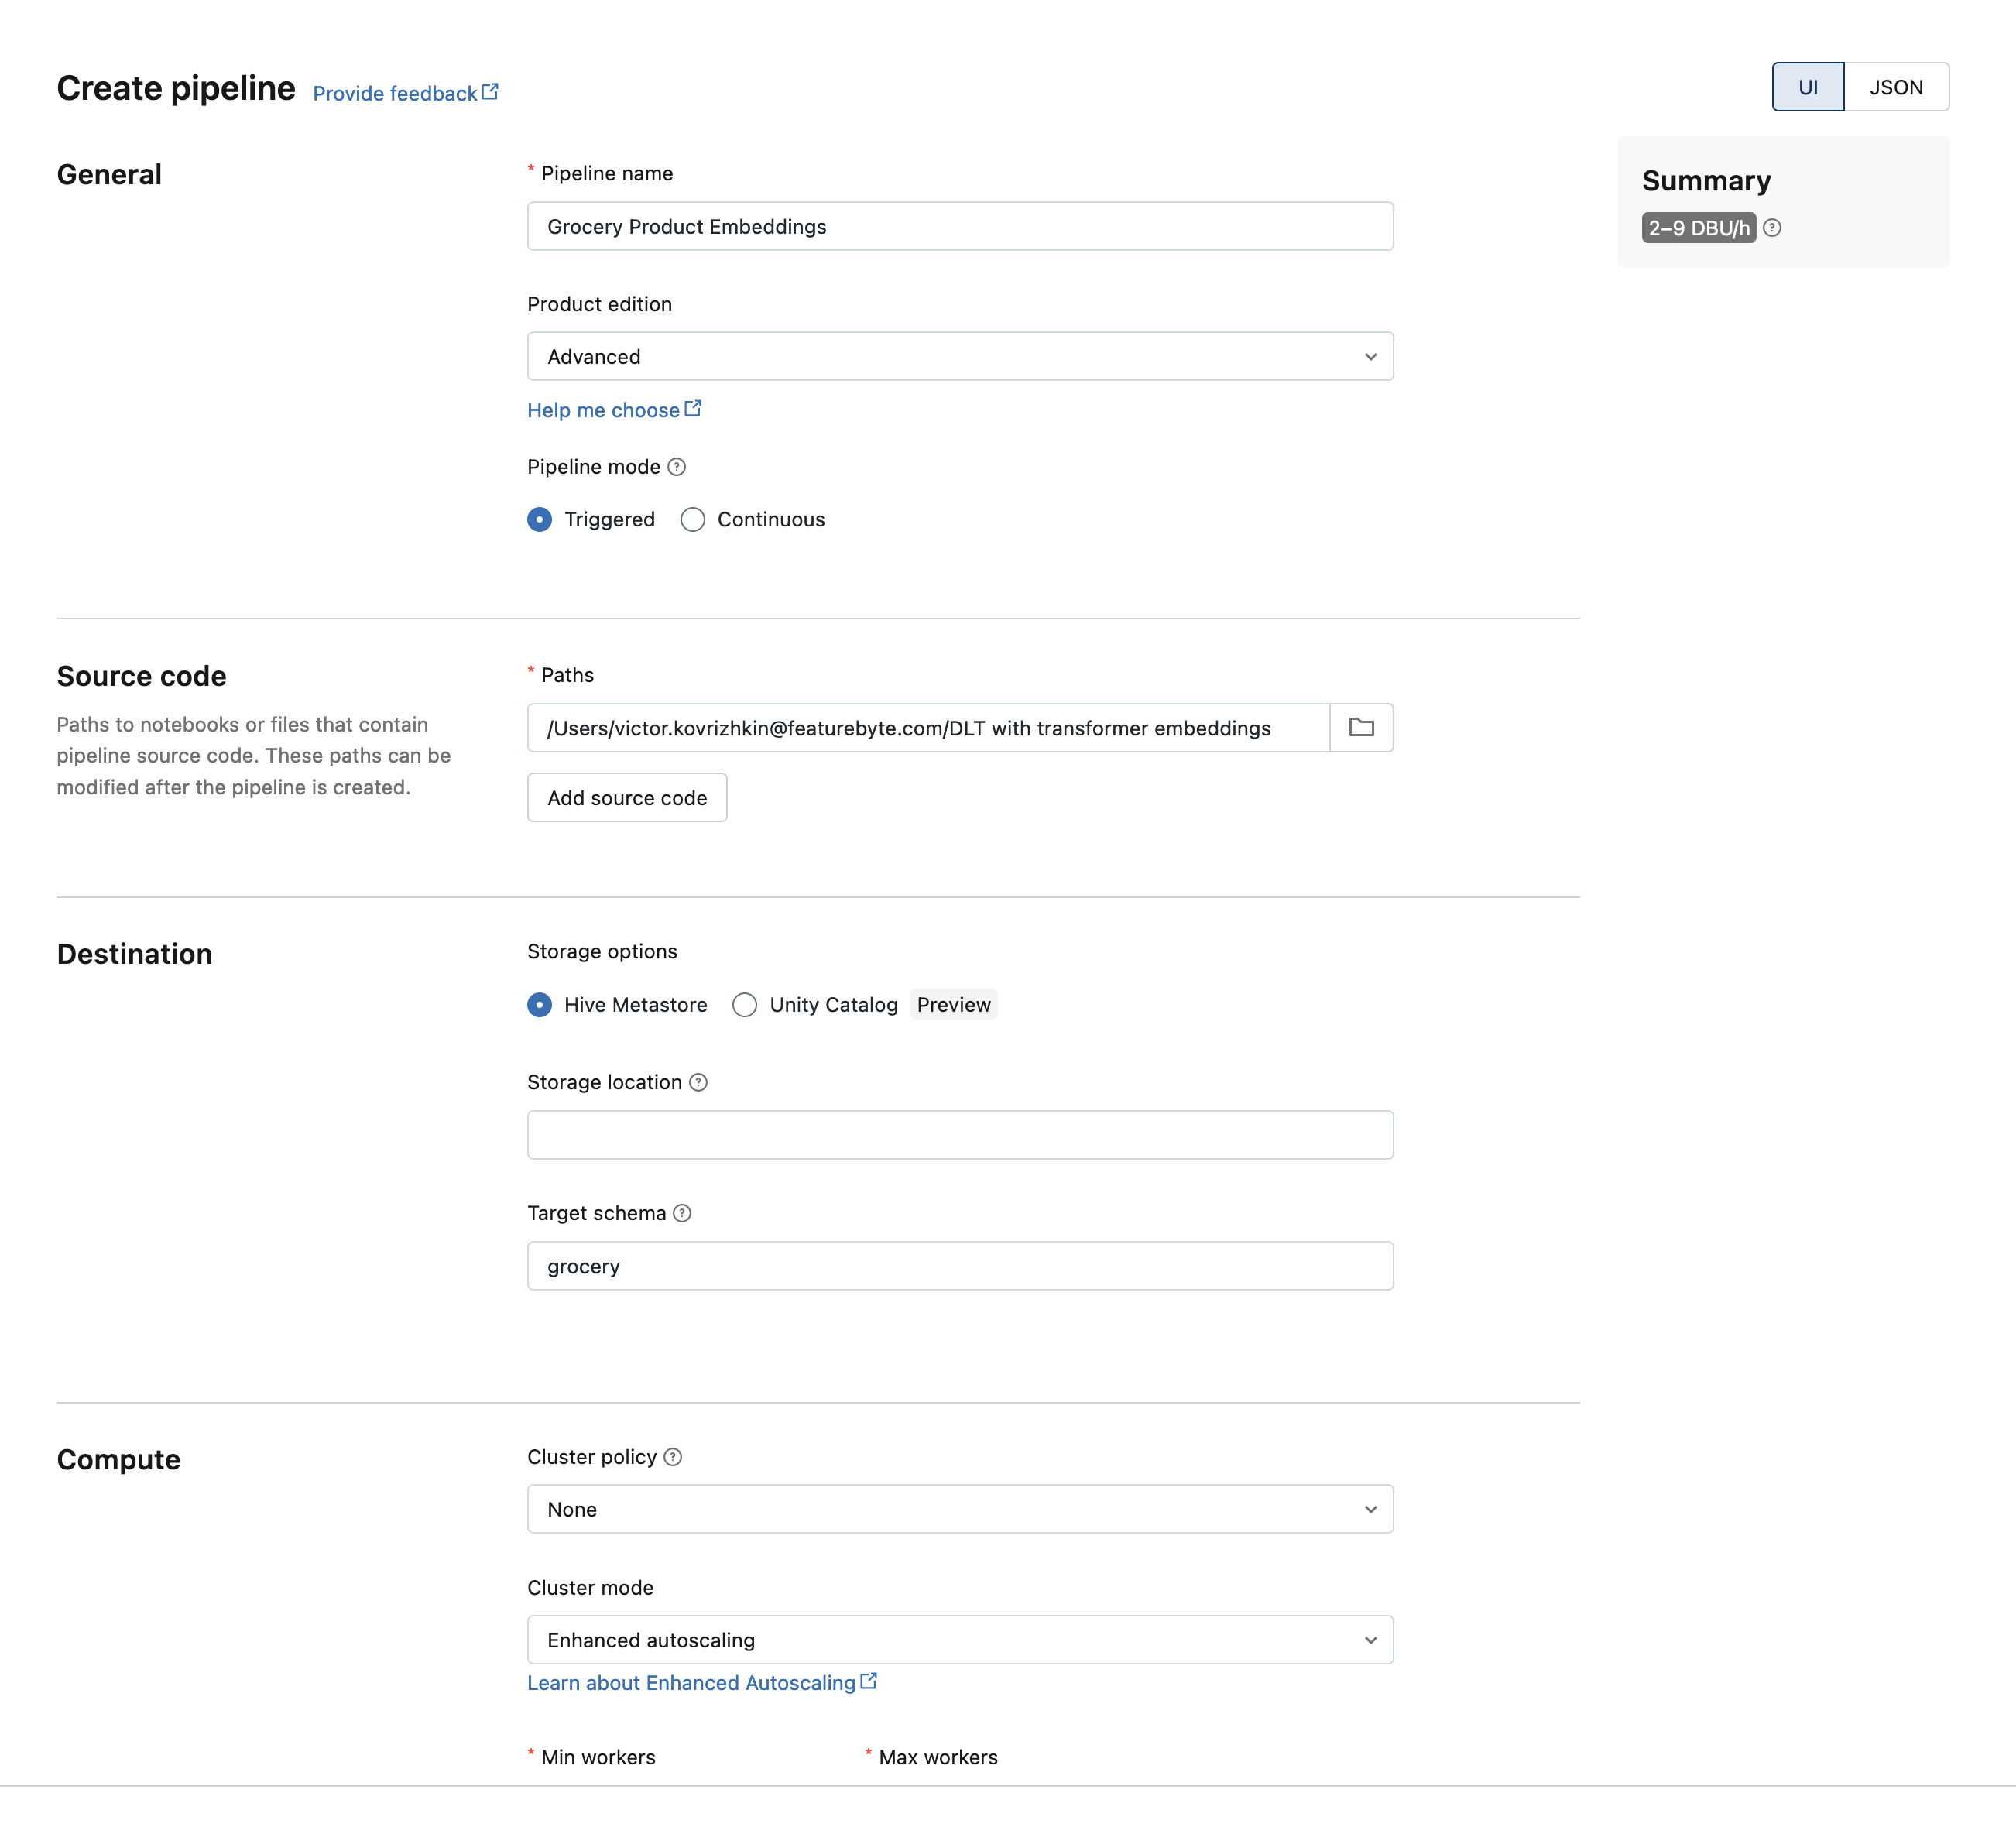
Set the name for your pipeline, and set the Target Schema in Destination section to schema you want table to be saved to. Rest of the settings can be left as is
Pipeline is created, but it won't start automatically so go to "Data Live Tables" in the left menu of DataBricks webapp and click start on the newly created pipeline.

Pipeline will take some time to run, once it runs successfully it should change to State = "Completed".
The full notebook with DLT definition is awailable here.
Use DLT in FeatureByte SDK
Once table is created it can be used as a regular source table in FeatureByte SDK. In our case we will be using newly created groceryproduct_embedding table instead of groceryproduct.
Notebook on how to use DLT with FeatureByte SDK is available here.