Deploying as GCP Cloud function
Introduction
This guide walks you through the process of deploying a transformer model using GCP cloud functions.
Requirements
To follow this tutorial, ensure you have:
-
An active GCP account with permissions to create, manage and delete GCP functions.
-
GCloud CLI installed on your system
Steps
To set up GCP transformers function to serve requests from your data warehouse, there are two primary steps:
-
Implementation and deployment of the function itself.
-
Creation of the API Gateway to permit external HTTP requests.
Implement and deploy the function
Implementing and deploying the function involves the following substeps:
-
Set up the project: Start by installing necessary dependencies
-
Implement the function
-
Deploy to GCP
-
Validate: Ensure your function works as expected
Let’s go through them one by one.
Project creation
Create and activate python virtual environment:
# create and activate a virtual environment

cd /path/to/workspace
python -m venv function_env
source activate function_env/bin/activate

# Create source code directory:

mkdir sbert_embedding
cd sbert_embedding

# Install GCP and SBERT transformers dependencies:

pip install functions-framework sentence-transformers
Define function code
Create a python module that contains the function definition
Open this file using the IDE of choice and paste following code:
import json

import functions_framework
from sentence_transformers import SentenceTransformer

transformer_model = None


@functions_framework.http
def sbert_embedding(request):
    # Initialize transformer model lazily
    global transformer_model
    if transformer_model is None:
        transformer_model = SentenceTransformer("sentence-transformers/all-MiniLM-L12-v2")


    # Expect json data in format {“data”: [[0, “text“], [1, “text”]]}
    data = request.get_json()["data"]


    # Encode texts via transformer model
    texts = [x[1] for x in data]
    embeddings = transformer_model.encode(texts)


    # Format response into json like {“data”: [0, [0.1, …, 0.43]], …}
    response_data = [[i, emb] for i, emb in enumerate(embeddings.tolist())]
    response_body = json.dumps({"data": response_data})
    return (response_body, 200)
In order to deploy the function successfully, the module should also include requirements.txt file with all required dependencies. You can record the specific state of your Python environment to create this requirements file by running the following command:
Final project should look like this:
# check current project directory
pwd
> /path/to/workspace/sbert_embedding

# check project files
ls
> main.py requirements.txt
Deploy function to GCP
To deploy the function, exit sbert_embedding directory (e.g. move one level higher) and run following command:
gcloud functions deploy sbert_embedding \
    --gen2 \
    --runtime=python39 \
    --region=us-central1 \
    --source=/path/to/sbert_function \
    --entry-point=sbert_embedding \
    --memory=2G \
    --trigger-http \
    --allow-unauthenticated
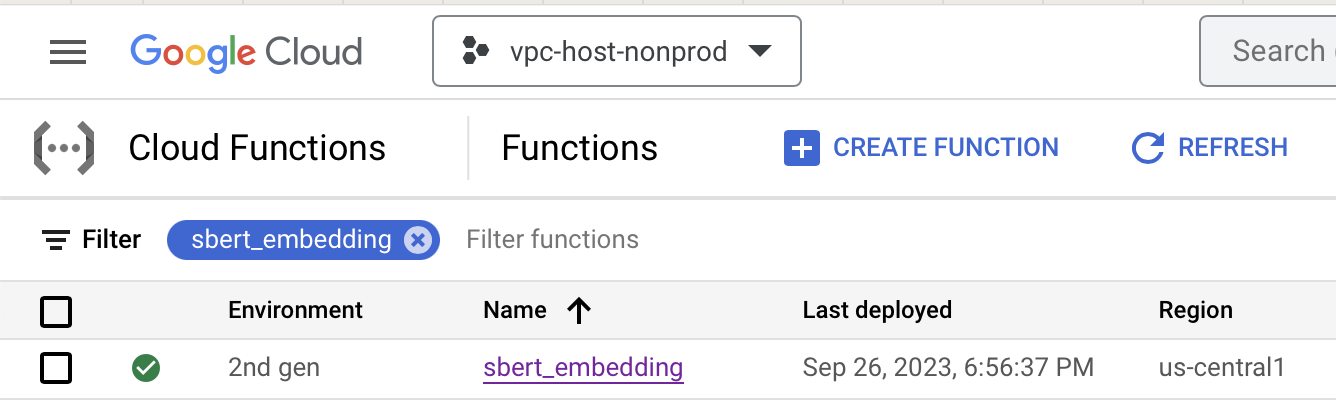
This command will take some time to execute. Once completed, the GPC console should display a screen similar to the following:
Location the function url and verify the function
Drill down into the function by clicking on the name hyperlink, navigate to the Testing tab, locate the function url ({function_base_uri}):
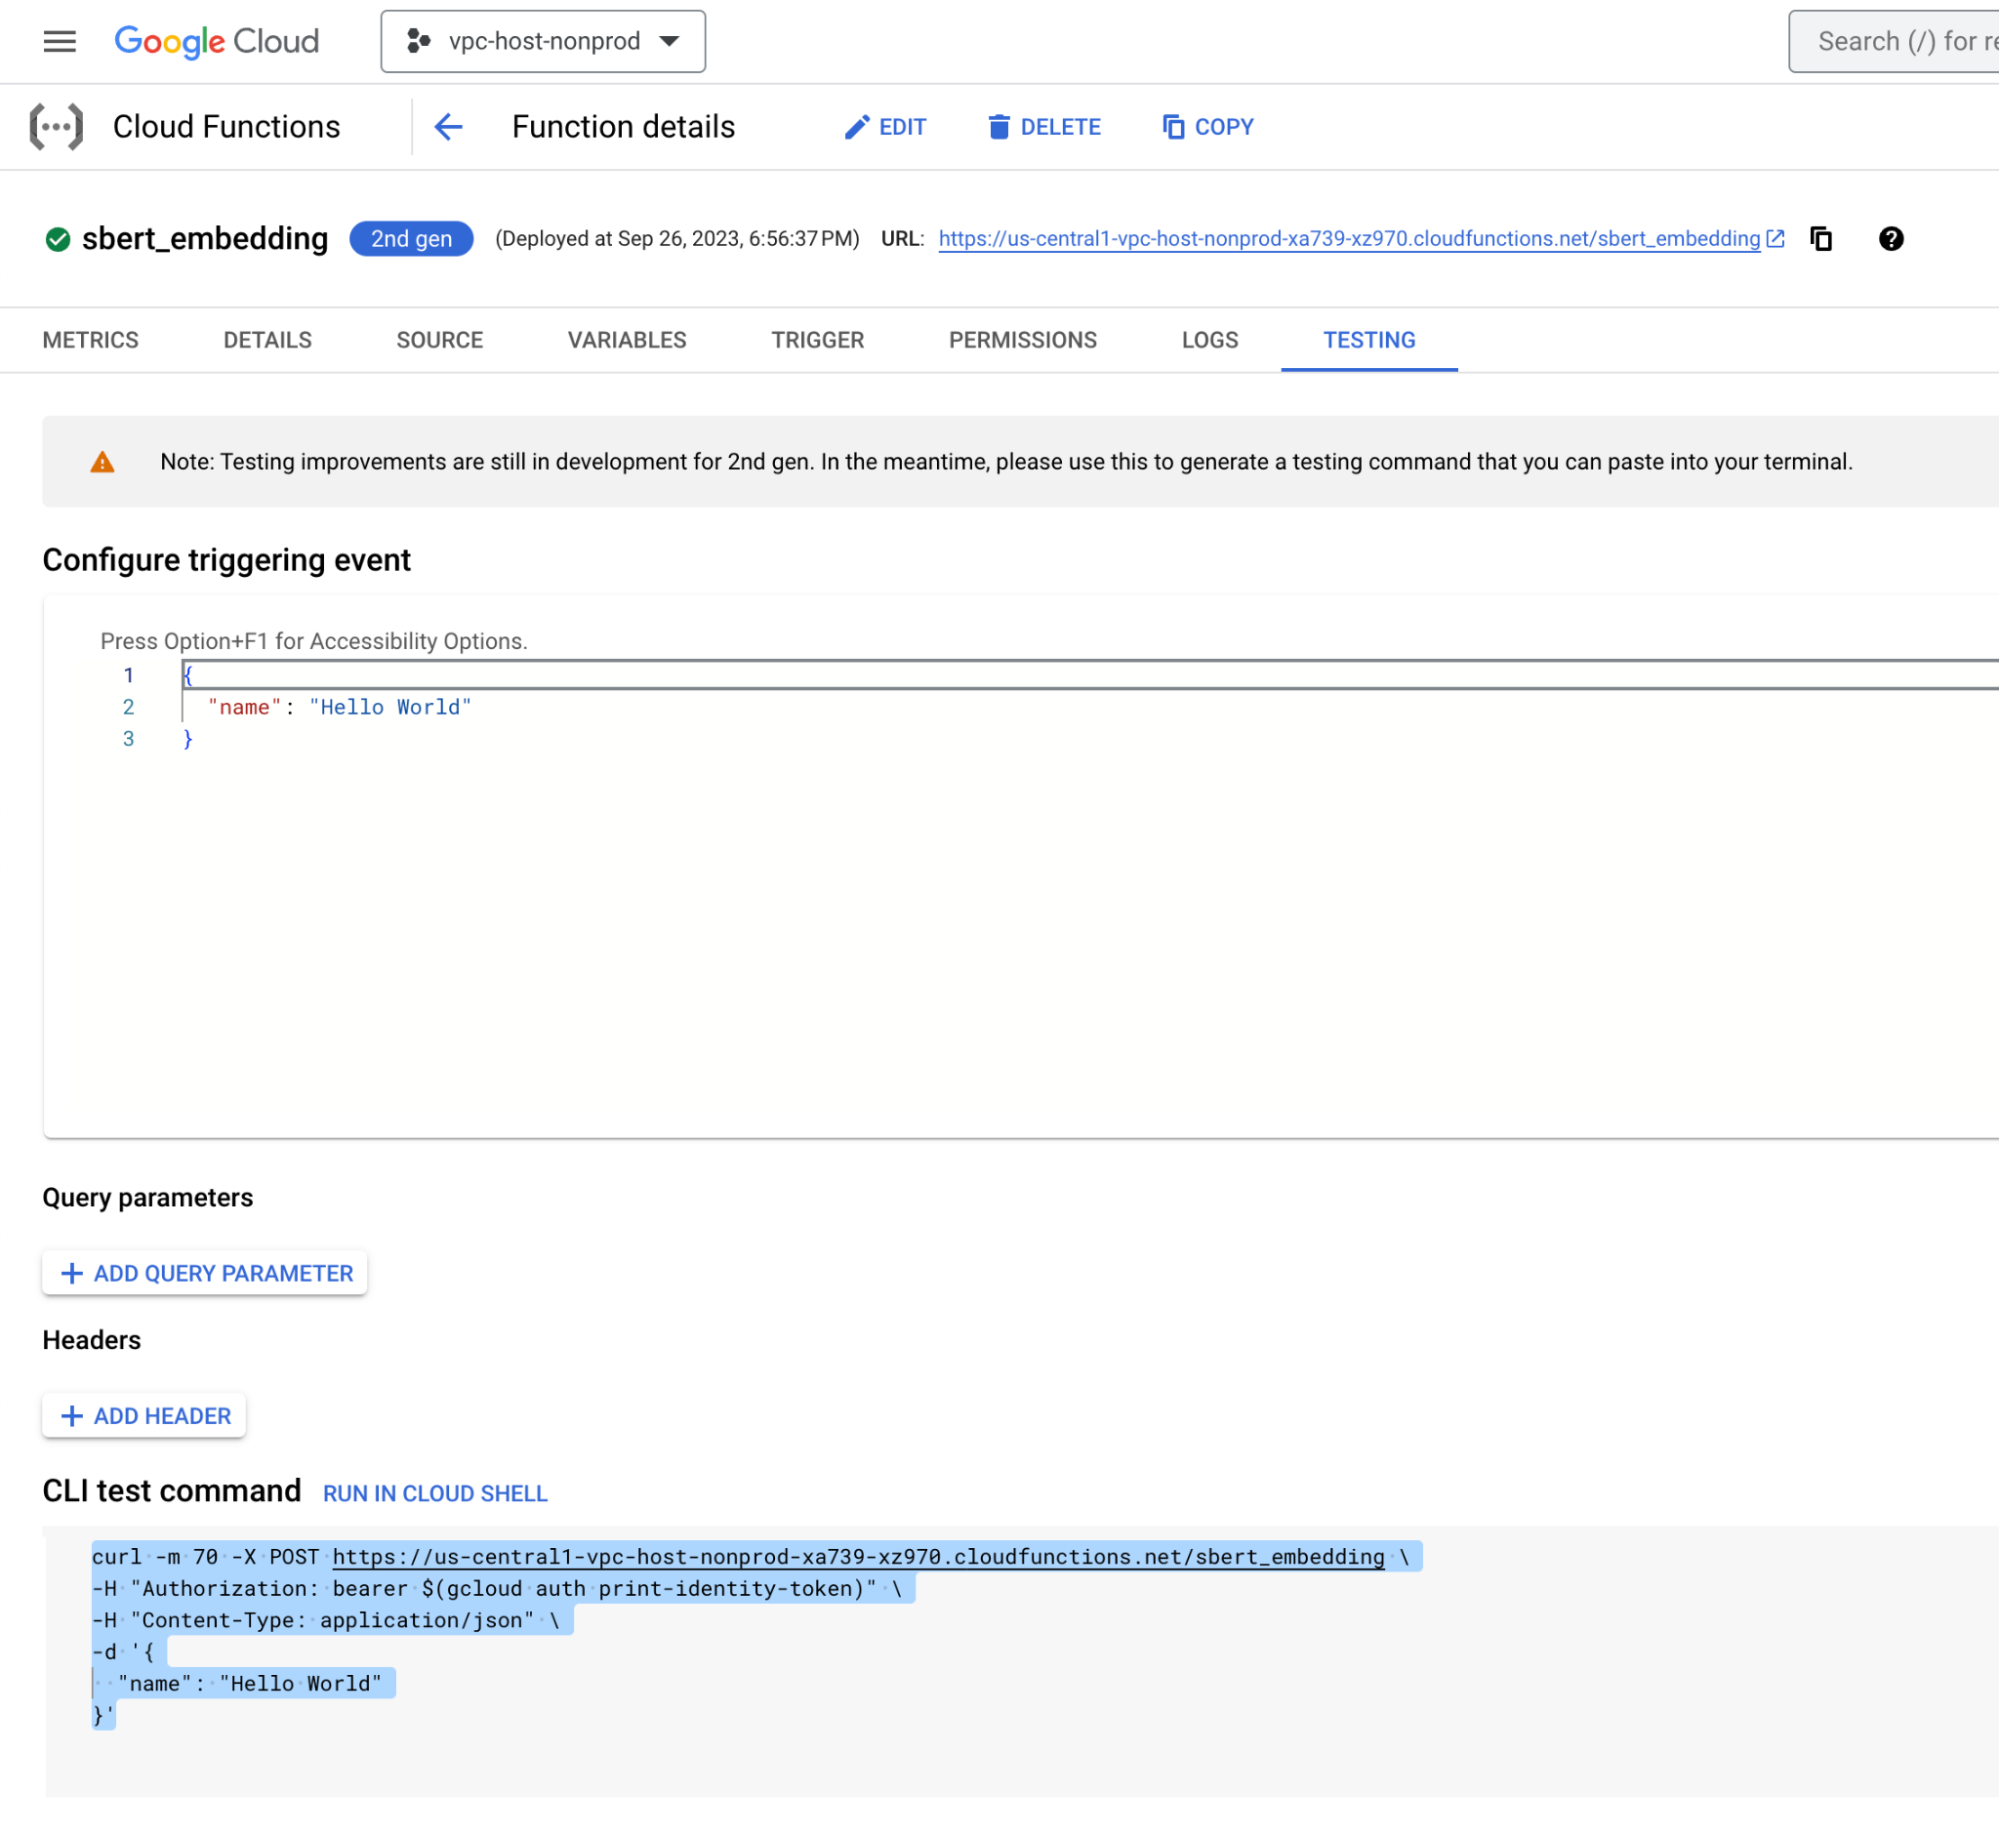
And verify its functionality by executing the subsequent curl command:
curl -m 70 -X POST {function_base_uri}/sbert_embedding \
-H "Authorization: bearer $(gcloud auth print-identity-token)" \
-H "Content-Type: application/json" \
-d '{
  "data": [[0,"Hello World"]]
}'
Response should resemble the following:
{
  "data": [
    [
      0,
      [
        -0.07597316056489944,
        -0.005261982325464487,
        ...
        -0.011127020232379436,
        0.034954626113176346
      ]
    ]
  ]
}
This means the function is deployed and ready to serve requests.
Create API Gateway
While the function is deployed and accessible via HTTP, to facilitate its access from the data warehouse, an API Gateway needs to be set up.
The API Gateway will require JWT token authentication. Before establishing the API Gateway, it is imperative to determine the issuer of the JWT token. The issuer varies based on the source making the call to the API gateway. It could, for instance, be another GCP machine or an entity utilizing a GCP Service Account. A comprehensive discussion on how JWT authentication works exceeds the scope of this tutorial. Therefore, for the sake of simplicity, we will focus on enabling access from two primary sources:
-
Snowflake Data Warehouse
-
Any other machine or data warehouse possessing the private key linked to the GCP Service Account
To configure a Snowflake GCP service account, navigate to the Snowflake SQL editor and execute the following query:
CREATE OR REPLACE API INTEGRATION gcp_transformers_integration
    api_provider = google_api_gateway
    google_audience = 'TO-CHANGE'
    api_allowed_prefixes = ('https://TO-CHANGE.uc.gateway.dev')
    enabled = false;
DESCRIBE INTEGRATION gcp_transformers_integration;
This action will initiate the API integration. While it won’t be fully functional immediately, we will address this in upcoming steps. Note TO_CHANGE in the function definition - we will update this later in the Register UDF in Snowflake tutorial. For now, simply copy the value of API_GCP_SERVICE_ACCOUNT from the output.
If you are using a custom GCP service account, you should receive a JSON file containing fields: {client_email_from_GCP_Service_account} and {client_x509_cert_url_from_GCP_Service_Account} fields, which we will use as issuer for separate security configuration as well.
Now, it’s time to establish an API gateway. While setting up an API gateway, it is necessary to provide an api configuration adhering to the OpenAPI specification format. In our scenario, the API configuration will appear as follows:
swagger: '2.0'
info:
  title: API Gateway config for Snowflake external function.
  description: This configuration file connects the API Gateway resource to the remote service (Cloud Function).
  version: 1.0.0
securityDefinitions:
  snowflakeAccess01:
    authorizationUrl: ""
    flow: "implicit"
    type: "oauth2"
    x-google-issuer: "{snowflake_API_GCP_SERVICE_ACCOUNT}"
    x-google-jwks_uri: "https://www.googleapis.com/robot/v1/metadata/x509/{snowflake_API_GCP_SERVICE_ACCOUNT}"
  otherAccess01:
    authorizationUrl: ""
    flow: "implicit"
    type: "oauth2"
    x-google-issuer: "{client_email_from_GCP_Service_Account}"
    x-google-jwks_uri: "{client_x509_cert_url_from_GCP_Service_Account}"
schemes:
  - https
produces:
  - application/json
paths:
  /sbert_embedding:
    post:
      summary: "Embedding of text data via sentence transformers."
      operationId: sbert_embedding
      security:
        - snowflakeAccess01: []
        - otherAccess01: []
      x-google-backend:
        address: {function_base_uri}
        protocol: h2
      responses:
        '200':
          description: "Embedding of text data via sentence transformers."
          schema:
            type: string
Above yaml openapi definition consists of following items:
-
securityDefinitionscontain two security definitions-
snowflakeAccess01for allowing requests from Snowflake later. -
otherAccess01for allowing requests from any other places which will have access to the custom GCP Service account.
-
-
pathscontains reference to our sbert_embedding function. Parameter{function_base_uri}refers to the same url we used to verify the function with a curl request.
Save this file as api-config.yaml file.
Now it is time to create API Gateway itself. This can be done via following commands:
gcloud api-gateway apis create snowflake-transformers-demo-id

gcloud api-gateway api-configs create \
    snowflake-transformers-config \
    --api=snowflake-transformers-demo-id \
    --openapi-spec=/path/to/api-def.yml

gcloud api-gateway gateways create \
    snowflake-transformers-demo-gw \
    --api=snowflake-transformers-demo-id \
    --api-config=snowflake-transformers-demo-config \
    --location=us-central1
These three commands may take some time to complete, but once done, you will be able to observe the following within the GCP console under API gateways:
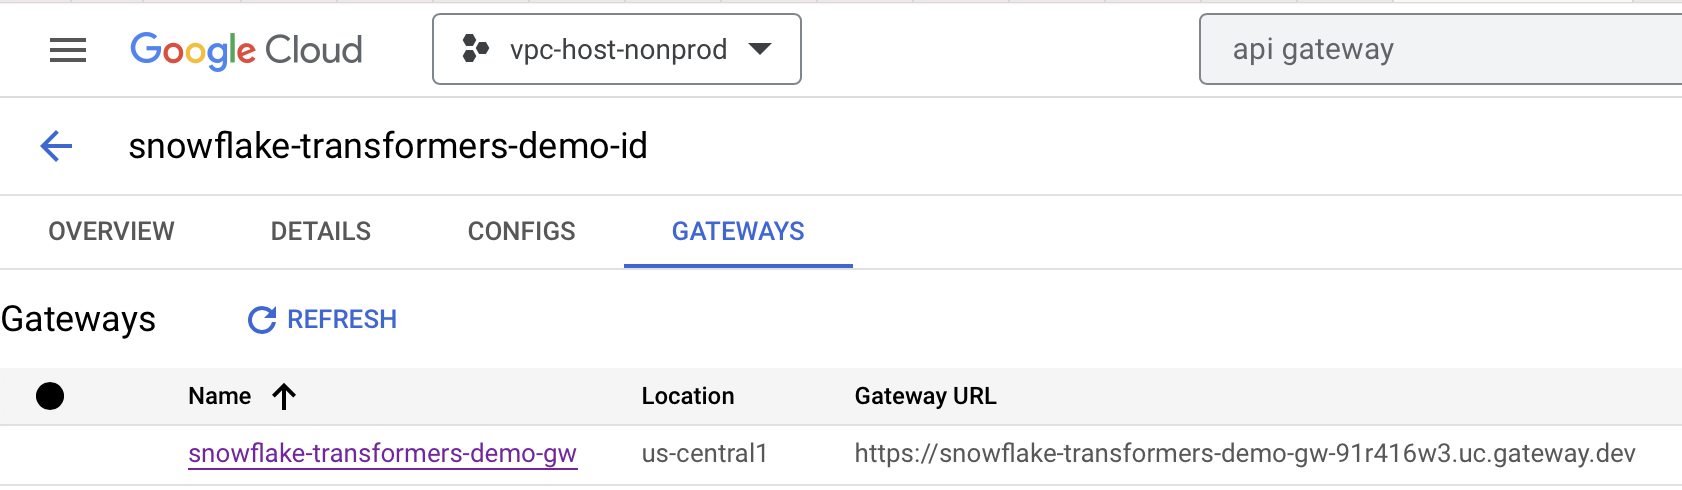
Now the function is fully prepared to be used from Snowflake or any other service. Next up - Registering UDF in Snowflake